*This post may contain affiliate links. Please see my full disclosure policy for more information.*
There’s just something about gold that has drawn me in the last few years.
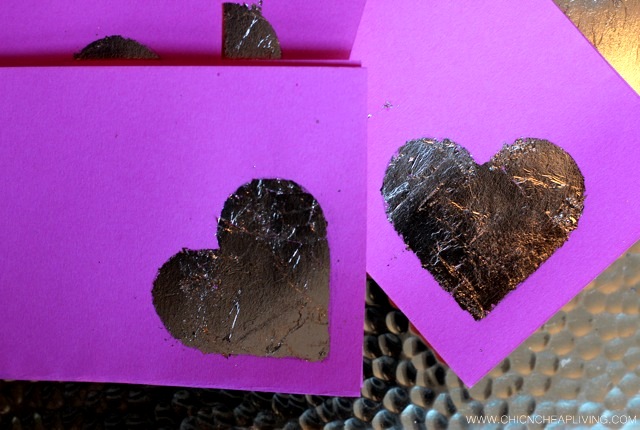
I’ve increasingly added gold to my accessories as well as my home. I started seeing more gold accents on side tables and decor and really wanted to do something with gold leaf. I had the perfect opportunity to do so recently when I was looking for thank you cards for lovely friends that got us gifts for my baby shower.
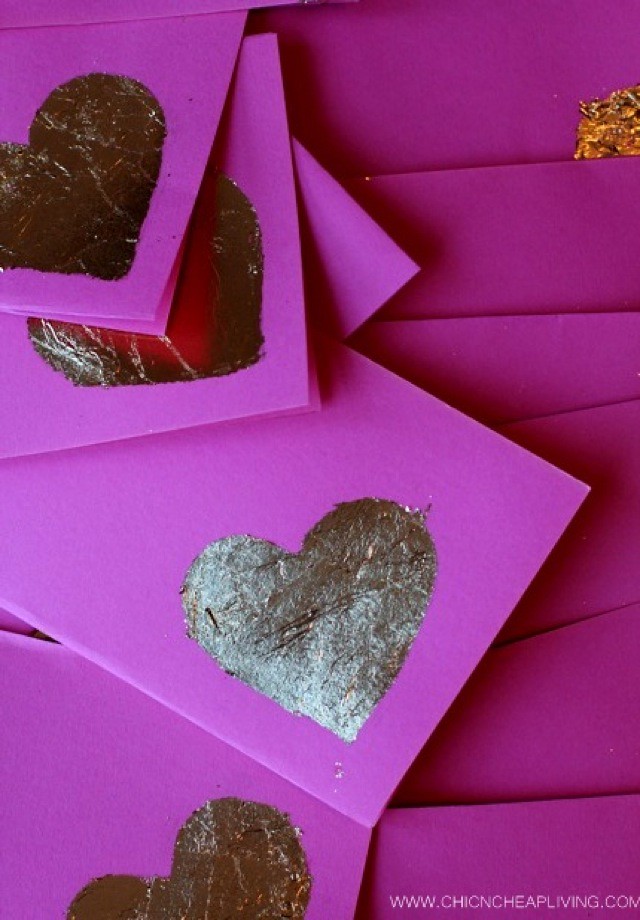
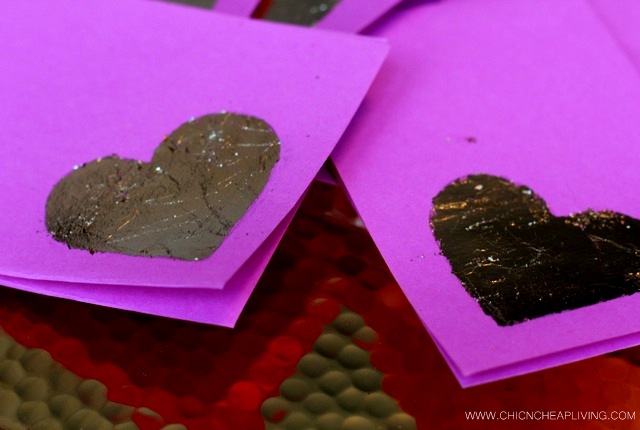
Strangely enough, I couldn’t find a single stationary store nearby though I did find a craft store in my area. I had already purchased gold leaf adhesive size (aka the glue specifically used for gold leaf) as well as some gold leaf sheets on eBay. I thought hearts (via favorite cookie cutters) would be an easy shape to create and was able to create lovely, delicate gold leaf hearts on a punchy pink piece of card stock.
I had to get used to using gold leaf because it is very delicate. But I found that it was perfectly fine that it wouldn’t lay flat. I could always smooth out the shape later. I also used thin layers of the adhesive size so the entire shape would take on the gold leaf. There were some instances where I had to repeat the adhesive size application around the edges and reapply the gold leaf. I loved the end results though my husband didn’t love the little pieces of gold leaf that ended up everywhere after my project.
It is still a fun project and I would recommend you try it out some time (I can already think of the applications for some other objects around the home!)
Gold leaf cards
Materials
- cardstock
- leaf adhesive size
- gold leaf sheets
- brush – with regular bristles if it is a smaller shape or foam
- scissors
- stencil / shape desired
- pencil
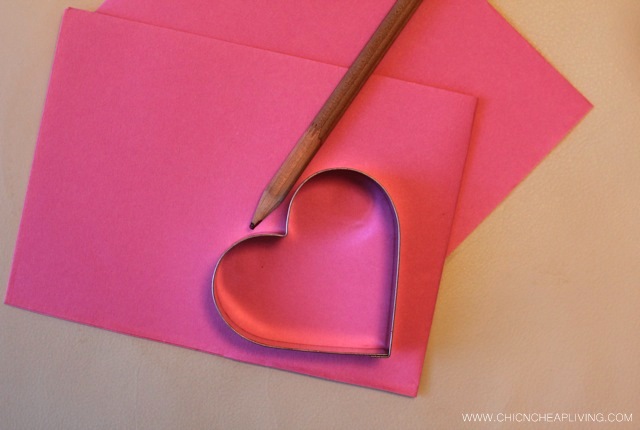
1. Draw the desired shape onto your card stock.
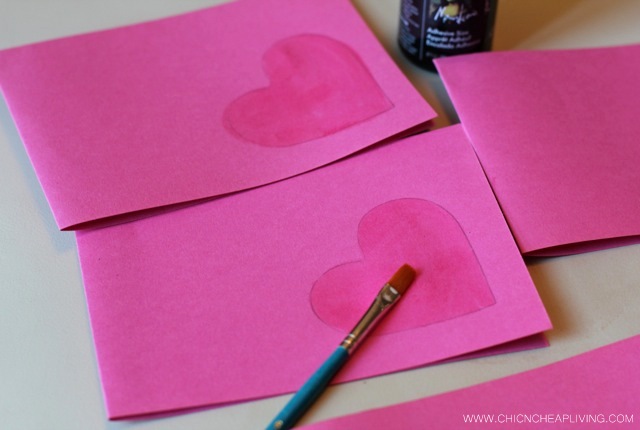
2. Paint the entire area inside the shape with a thin layer of leaf adhesive size. It will change from a milky color to a transparent color within 10-15 minutes.
3. Apply gold leaf in a thin layer to the shape and press it firmly to adhere to the card stock.
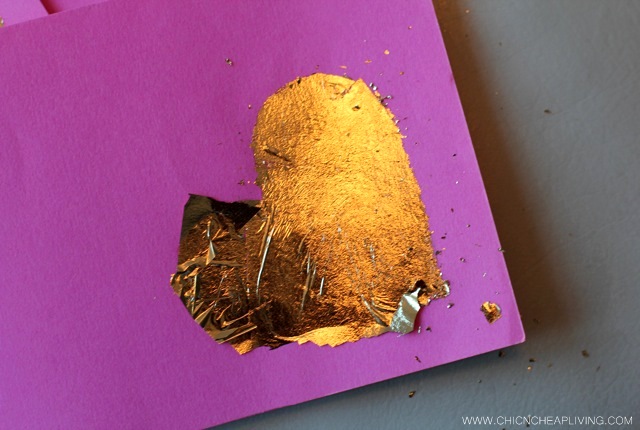
4. Wait 10 minutes and then scrape off excess gold leaf. The remaining gold leaf will be in the form of your shape. I would recommend using a flat edge (I used the flat side of a pen) to get the gold leaf smooth. Enjoy your fancy gold leaf card!
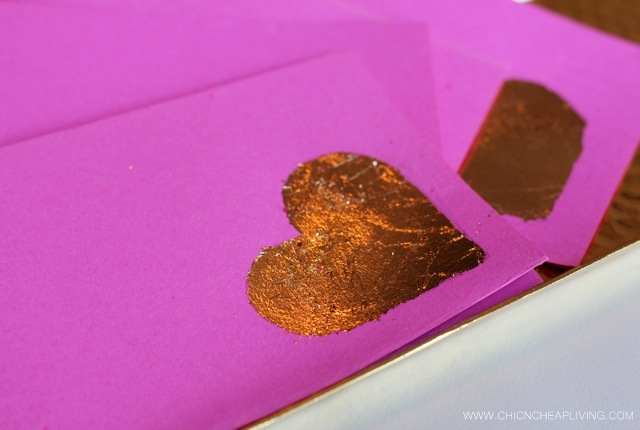


Those cards look beautiful! So well done, darling. Have a great day. xoxo
This is inspiring. I’ve not tried gold leaf cards, but I have used gold leafing on other crafting pieces. Love these! 🙂 xx/Madison
Moto-Chic Style
This is one fabulous idea! I think these are just perfect and the gold leaf really makes the cards special! Thanks so much for the idea!
Rebecca
http://www.winnipegstyle.ca
Thanks for your sweet comments! Gold leaf really does make the cards so cool and chic! I hope you get to tryout out soon!
These look awesome! Such a fun idea!
Thanks Heather! Working with gold leaf isn’t easy, but so fun!
those are so pretty! what a wonderful project. i love foil.
http://www.averysweetblog.com/
Love this!! They turned out so pretty 🙂
Thank you Kary! I love the pink and gold to celebrate the LO and gold leaf is awesome! I have to DM or email you soon pictures of my LO!
These are such a fun and pretty DIY! I’m in love with gold everything, in my wardrobe and in my home.
The cards look great, but dang that gold leaf looks finicky to use! I don’t know whether I’d have the patience haha
J, you are totally right! Gold leaf is so delicate to use and gets everywhere. I just kept going because I love the results! I’m getting gold leaf paint next time!